Shine in the Details: Elevating Rooms with Statement Hardware

Today we explore Luxe Hardware Swaps: Knobs, Pulls, and Faucets that Transform a Room, revealing how refined touch points reshape daily rituals, elevate perceived quality, and create instant harmony. Expect tactile strategies, finish pairings, installation wisdom, and real-home stories that prove small changes matter. Share your questions and photos, subscribe for weekly inspiration, and discover confident, budget-smart moves that immediately uplift kitchens, baths, and built-ins without dust, drama, or demolition—just a smarter relationship with the objects your hands meet every single day.

The First-Contact Experience

That first morning reach for a cabinet pull sets the tone. A solid, cool touch suggests order and reliability, while a loose, squeaky knob whispers neglect. Shape and clearance matter too; generous finger room prevents awkward snags. Prioritize smooth edges, honest heft, and a finish that resists smudges, and you’ll create micro-moments of delight that compound into a room that feels quietly elevated and thoughtfully considered every single time.

Proportion and Sightlines

Hardware scale guides the eye across doors, drawers, and panels like notes in a melody. Oversized pulls can elongate base cabinets, while petite knobs keep upper doors visually light. Aligning centerlines, matching backplate heights, and echoing shapes across zones creates a rhythm that feels cohesive. Consider how handles read in natural light and at night; the right proportions prevent visual noise, ensuring cabinetry planes appear sleek, intentional, and surprisingly architectural.

Water, Light, and Sound

A faucet does more than deliver water; it orchestrates light and sound. Aerators influence the hush of flow, spouts cast reflections that shimmer across stone, and levers click with subtle precision. Select valves for smooth travel and reliable temperature control, then pair finish reflectivity with room lighting to avoid glare. That controlled sparkle and gentle hush become sensory signals of care, turning routine rinsing into a small ritual that refreshes both surfaces and mood.

Small Changes, Big Impact: The Psychology of Touch Points

Every grasp of a pull or twist of a faucet is a tiny handshake with your home, quietly shaping how premium a space feels. When materials are substantial, finishes are consistent, and ergonomics feel intuitive, rooms seem cleaner, calmer, and more deliberate. We’ll unpack how hand-feel, weight, and visual rhythm trick the brain into perceiving bespoke quality, even if the cabinets or tile remain unchanged, and how intention at these micro-interactions creates satisfaction all day long.

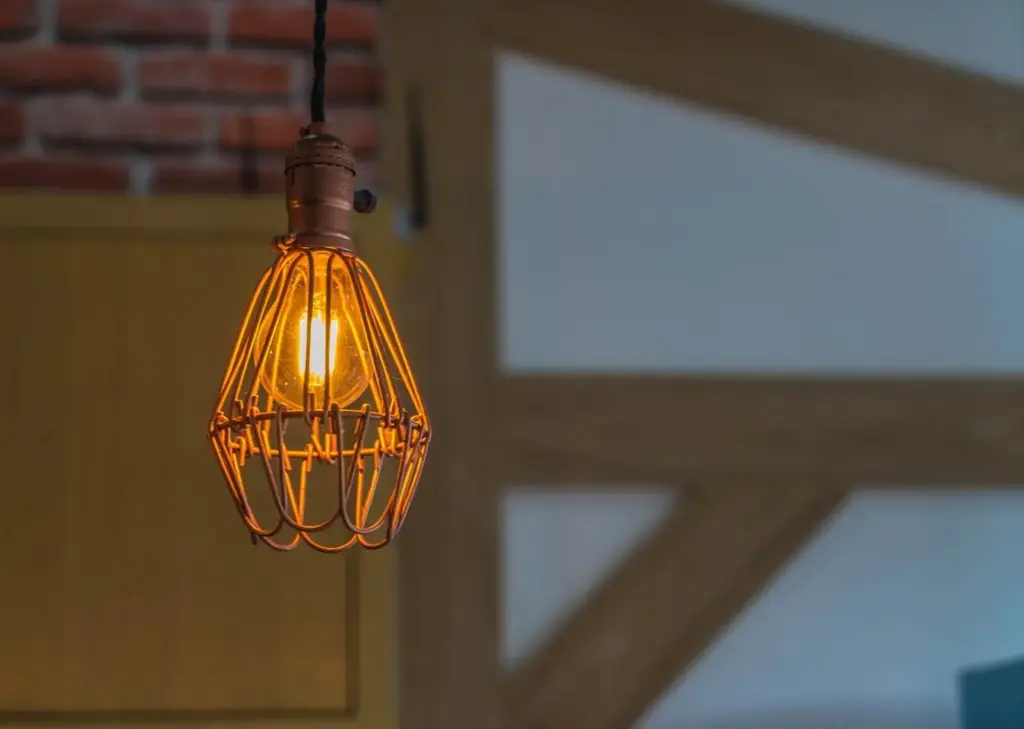
Materials That Matter: Brass, Bronze, Nickel, and Beyond

Choosing the right alloy and finish determines not just appearance but aging, hygiene, and maintenance. Solid brass offers reassuring weight and antimicrobial properties, while bronze promises warmth and character. Satin nickel presents a quiet, modern sheen, and advanced PVD coatings multiply durability. Understanding base metals, lacquers, and patina potential helps you predict how pieces evolve. When these choices harmonize with counters, tile, and appliances, the entire room broadcasts a considered, cohesive identity.

Styles and Profiles: From Classic to Contemporary

Silhouette communicates era and attitude. A reeded knob hints at heritage cabinetry; a flat, squared pull reads streamlined and modern. Spout arcs convey personality, from swanlike curves to minimalist right angles. The key is editing: repeat profiles and echo lines that already exist in door rails, panel reveals, and appliance handles. When style families align, the room gains coherence, making even neutral palettes feel curated, intelligent, and quietly confident in every detail.

Installation Intelligence: Fit, Function, and Safety

Great pieces deserve thoughtful placement. Mapping center-to-center distances, verifying screw length for door thickness, and pre-drilling straight holes prevent heartbreak. Templates ensure repeatable accuracy; thread-lock prevents wiggling over years. For faucets, confirm valve compatibility, deck thickness limits, and reach relative to sink geometry. ADA considerations, kid-friendly levers, and splash management all matter. Proper installation transforms luxury from appearance to reality, delivering smooth operation, longevity, and confidence with every daily interaction.

Measure Twice, Drill Once

Test hardware positioning with painter’s tape before committing. Align pulls with drawer rails or center them by visual weight, not just mathematical middle. Use sharp bits, backer blocks, and low speed to prevent chipping. Keep a magnet handy to catch filings and protect finishes. On retrofits, widen existing holes with care and match new screws to material density. Thoughtful preparation avoids repairs, preserves cabinetry integrity, and ensures symmetry that pleases the eye from every angle.

The Feel of a Good Pull

Ideal projection prevents knuckle bumps and balances torque on wide drawers. Choose two pulls for heavy storage, placed equidistant from edges, to distribute load and reduce racking. Test grip comfort for different hand sizes and consider rounded interiors that welcome fingers. Heavier bars need anchored mounting and proper screw engagement. When drawers glide open with minimal effort and zero squeak, the entire piece feels custom, even if the boxes and slides remain unchanged.

Kitchen Hierarchy that Works

Start with the faucet; it’s the room’s jewelry and performance engine. Choose a durable finish and smooth spray mechanism. Next, upgrade high-traffic drawer pulls at prep zones, then address uppers. If budget remains, add matching knobs to the pantry and a complementary soap dispenser. Spreading upgrades over two phases keeps momentum without overwhelm, and each step yields noticeable returns in both appearance and everyday satisfaction at the heart of the home.

Bath Refresh Playbook

A widespread faucet with elegant handles instantly uplifts a vanity, especially when paired with coordinated knobs on drawers and a matching towel ring. Replace the drain trim to match finish, and consider a new shower valve trim for continuity. Select moisture-resistant coatings for longevity. In small baths, repeat finish at the mirror frame or sconce backplate to tie everything together, delivering a cohesive, spa-adjacent feeling without touching tile or cabinetry boxes.

Care, Maintenance, and Longevity

Protect your investment with simple routines. Mild soap, warm water, and soft cloths preserve coatings; harsh abrasives and citrus cleaners can strip luster. Address mineral buildup with gentle vinegar compresses around aerators, then buff dry to prevent spotting. Tighten set screws seasonally and add a dot of removable thread-lock to frequent offenders. Regular attention keeps operation silky, finishes consistent, and the daily experience as polished as the first day you installed everything.
Wipe fingerprints before they set, particularly on polished finishes, and dry around faucet bases after use to deter mineral halos. Use microfiber to avoid micro-scratches. Once a week, check for loosening, and run a soft brush under handle escutcheons. These brief habits eliminate grime build-up and protect against premature wear, ensuring each touch remains satisfying. Consistency here prevents larger maintenance tasks later and keeps your space quietly gleaming with effortless composure.
If you battle hard water, install an inline filter or conditioning system to reduce deposits before they form. Clean aerators monthly by soaking and lightly brushing screens. Choose finishes engineered for resistance, like PVD, to maintain clarity. Keep a gentle descaler on hand for shower hardware. This simple plan prolongs valve performance, keeps flows even, and preserves reflective surfaces, so the sparkle that attracted you on day one endures through countless rinses and refills.
For wobbly pulls, upgrade to machine screws with insert nuts where possible, especially on MDF or thin panels. Add clear bumpers to reduce door slam and protect finishes. Keep a small kit with extra screws, washers, and hex keys labeled by room. When planning upgrades, document center-to-center measurements and finish codes to streamline replacements. Preparedness prevents mismatches, cuts downtime, and protects the cohesive look you’ve built, so your hardware story keeps aging gracefully.
Tilekimarafinezolezo
Privacy Overview

This website uses cookies so that we can provide you with the best user experience possible. Cookie information is stored in your browser and performs functions such as recognising you when you return to our website and helping our team to understand which sections of the website you find most interesting and useful.